
Testing identifies issues like cell imbalance in lithium batteries or weak cells in lead-acid batteries, ensuring reliability.
This guide provides a step-by-step process to test a deep cycle battery with a multimeter. With clear instructions, practical tips, and application-specific advice, you'll learn how to assess battery health and maintain performance for your application.
Essential Tools and Safety for Testing a Deep Cycle Battery
Before you test a deep cycle battery, gather the right tools and follow safety measures to ensure accurate results and protect yourself.
Tools Needed
Multimeter: Measures battery voltage to assess charge level. An auto-ranging multimeter is user-friendly, while a manual multimeter set to 20V DC offers precision (0.01V resolution recommended for lithium batteries).
Safety Gloves and Goggles: Protect against acid spills (lead-acid) or electrical hazards.
Optional Battery Load Tester: Simulates real-world discharge for advanced testing.
Cleaning Supplies: Wire brush or sandpaper for cleaning battery terminals.
Safety Tips
Work in a well-ventilated area to avoid gas buildup (lead-acid) or overheating risks (lithium).
Wear thick rubber gloves and goggles to prevent burns or shocks.
For lithium batteries, avoid short-circuiting terminals to prevent BMS damage or thermal runaway. Handle damaged units carefully, as punctured lithium batteries may pose fire risks.
Inspect the battery case for cracks, swelling, or leaks before testing to avoid safety hazards.
Proper preparation ensures safe testing and reliable multimeter readings, setting the stage for accurate diagnostics.
Preliminary Checks to Test a Deep Cycle Battery
Before testing, perform these quick checks to identify issues and ensure accurate results:
Inspect Battery Terminals and Connections: Ensure the terminals are clean, tight, and free from corrosion. Use a wire brush to remove buildup, as corroded terminals can skew battery voltage readings.
Visual Inspection: Check the battery case for cracks, bulges, or leaks. For lithium batteries, look for swelling or BMS indicator lights, such as flashing LEDs may signal cell issues. Physical damage often indicates internal problems.
Resting Voltage Check: Disconnect the battery from devices and chargers and let it rest for 4-6 hours to stabilize the BMS (for lithium batteries) or electrolyte (for lead-acid). Measure the open-circuit voltage with a multimeter to establish a baseline charge state.
Step-by-Step Guide to Testing a Deep Cycle Battery With a Multimeter
Testing a deep cycle battery with a multimeter is a straightforward way to assess its health. Follow these steps to measure battery voltage accurately:
Step 1: Set Up the Multimeter
Connect the red probe to the VΩmA port and the black probe to the COM port on your multimeter.
Set the dial to DC voltage mode (indicated by a "V" with a straight line above or below).
Choose a voltage range above 12V, such as 20V, for precise readings. For lithium batteries, use a multimeter with 0.01V resolution to detect small voltage changes.
Step 2: Connect to the Battery
Identify the positive (+) and negative (-) terminals on the battery, typically marked on the battery case.
Attach the red probe to the positive terminal and the black probe to the negative terminal, ensuring secure connections.
Verify polarity, reversing probes can result in negative or inaccurate voltage readings.
Step 3: Measure Battery Voltage
Record the voltage displayed on the multimeter's screen after the battery has rested for 4–6 hours.
Step 4: Optional Load Testing
If available, use a battery load tester to apply a load simulating real-world use, like powering a golf cart or RV appliances.
A healthy battery should maintain above 9.6V under load. Significant voltage drops indicate weakness or damage. For lithium batteries, excessive loads may trigger BMS protection, so consult the manual for safe testing parameters.
Interpreting Your Deep Cycle Battery Test Results
Understanding your multimeter readings is key to assessing whether your deep cycle battery is ready for use. Temperature affects readings, test at 25°C (77°F) for optimal accuracy. The table below outlines voltage ranges and considerations:
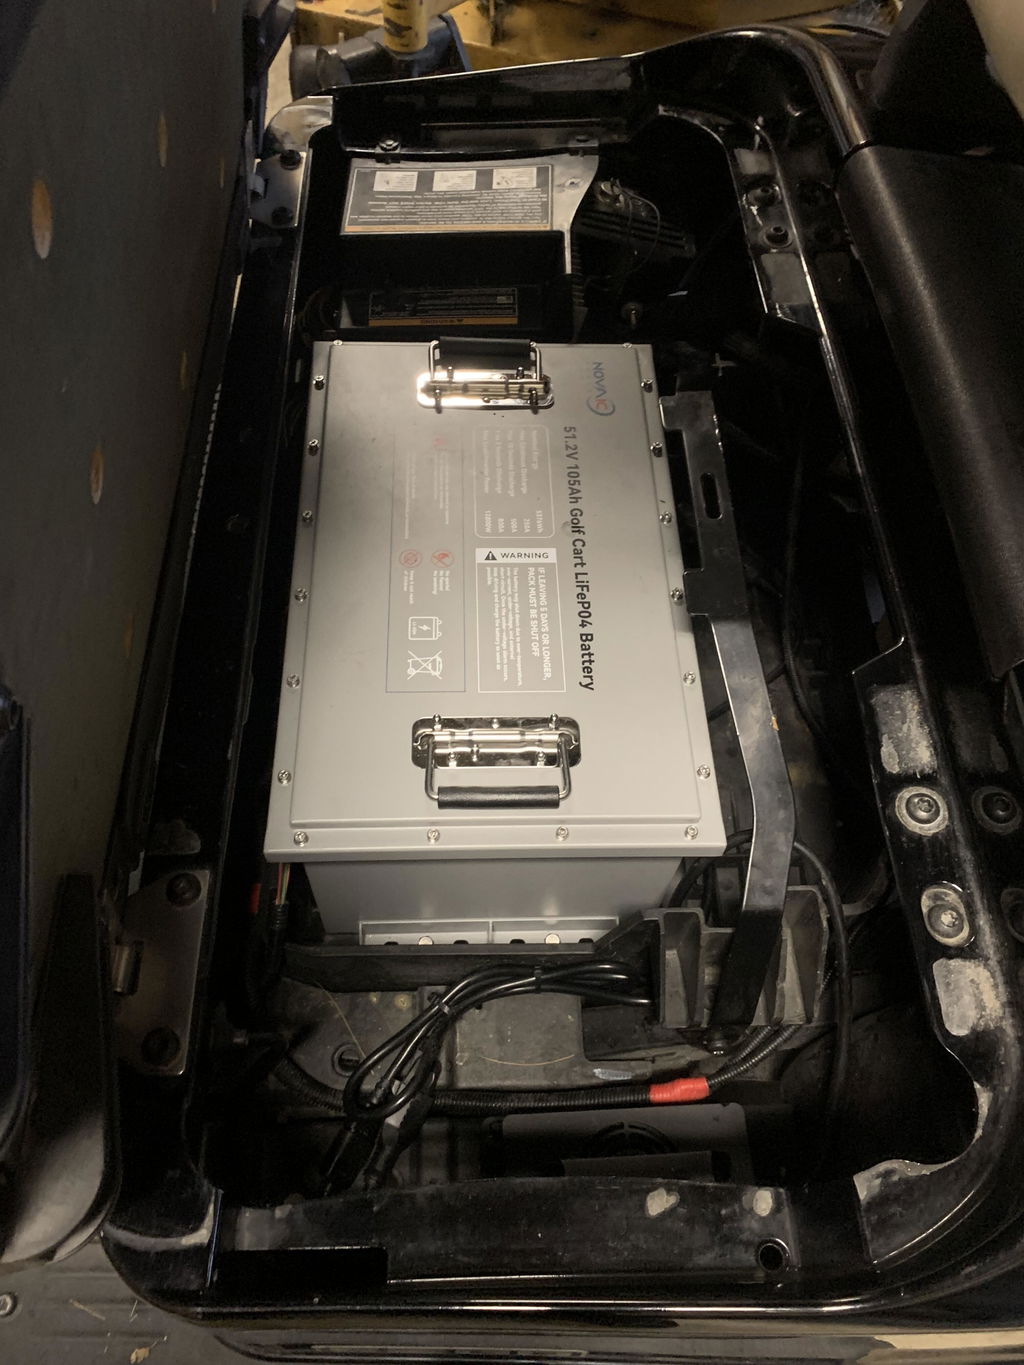
Fully Charged Battery: A 48V lithium battery reading 51.2-51.5V , ideal for powering golf carts.
Partially Charged: Readings of 48.4-51.2V suggest the battery is functional but may need charging before heavy use.
Discharged or Unstable: Voltage below 48V, or fluctuating readings, indicates a discharged battery or issues like cell damage or BMS errors. For lithium batteries, check for BMS error codes, such as red LED, app alerts for overvoltage, undervoltage, or temperature faults.For lithium batteries, check for BMS error codes, such as red LED, app alerts for overvoltage, undervoltage, or temperature faults.
Golf Carts: Test before heavy use (long trips) or every 3-6 months.
Avoid deep discharges below 20% for lithium batteries to extend cycle life. Clean terminals regularly with a wire brush to prevent corrosion.
Testing a deep cycle battery with a multimeter is a simple, effective way to ensure it's fully charged and ready for your golf cart.
By setting up the multimeter, checking battery terminals, measuring voltage, and interpreting results, you can catch issues early and avoid power failures.
Novaic lithium deep-cycle batteries simplify testing and boast an 8-10-year lifespan, making them the optimal battery choice for modern applications.

Share:
The difference between BMS+Relay, integrated relay BMS and FET BMS.
Why do LT series batteries need to be fully charged to 100% every 1-2 weeks?